Personalizing email signatures with custom fields
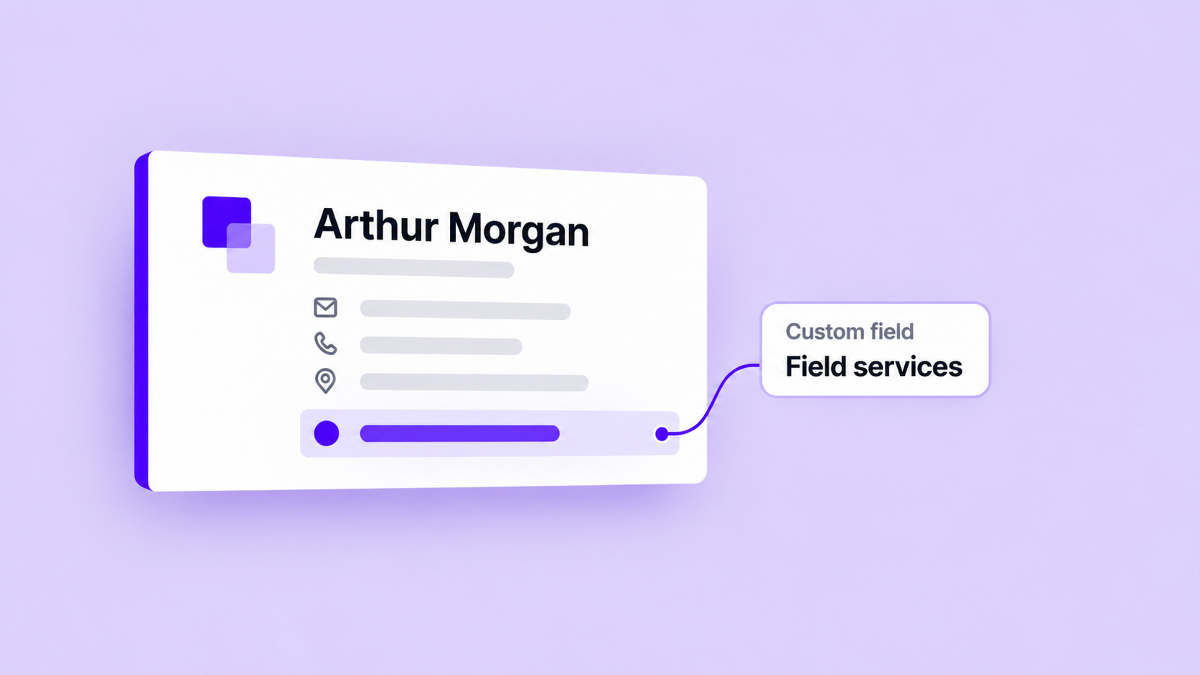
Standard fields cover the basics of a business signature: a name, job title, phone number, and company website. Some teams need one more piece of context that does not belong in a shared company profile or a standard Google directory field.
That might be a service area, a client segment, an office-hours note, or a short customer-facing service note. It changes from one employee to another without requiring a separate signature design for every person.
Custom fields give your team a small, controlled place for that information. This guide follows the fictional Lemoyne Field Services as it adds a service-area line to a reusable signature for Sadie Adler, then deploys the result to the right people.
Decide what deserves a custom field
Start with the reader's next question. If a recipient needs to know which region an employee covers, a field called Service area may earn its place in the signature. A support team might use Support hours. An account team might use Client group when that context helps a conversation move forward.
Keep the value short and stable enough to maintain. A custom field is a text value attached to one user. It is a good fit for a concise detail with the same meaning across several employees. It is a poor fit for a paragraph, a changing campaign message, or information that belongs to the whole company.
The label is shared at company level, while the value belongs to the individual user. This distinction keeps the design consistent without forcing every person to display the same content.
Give each field a clear label
In Signaturify, an authorized user can open Settings > Custom Fields and name the six available custom field slots. For Lemoyne Field Services, the first slot might be Service area, the second Support hours, and the third Client group. The remaining slots can stay unused until the team has a real need for them.
After a company label is saved, it appears in the signature editor and when a user's custom values are edited. If a slot has no company-defined label, the user-value editor still shows its default name, such as Custom Field 1, but the unlabeled slot is not offered in the editor's Custom category. Assign the label before inserting the field. Clear labels make the field library easier to maintain later.
Do this naming step before building the signature. It gives marketing and Workspace administrators a shared vocabulary and prevents a finished design from filling up with ambiguous placeholders.
Add values to the right people
After the labels are ready, open a user's record and choose the custom-fields action. Select the fields that apply, enter their values, and save. For Sadie, the value for Service area could be New Austin and West Elizabeth. Another employee can use a different area, while the same signature design remains in place.
These values are maintained in Signaturify as part of the user's record. They are separate from the standard details refreshed from Google Workspace. When directory information is synchronized, custom values are preserved, so a Google profile refresh does not replace the context your team entered in Signaturify.
Google remains the source for the directory details it owns. Your team owns the additional signature context and can review it when a person's responsibilities change.
Insert the field into a reusable design
Open the signature design and go to the field list. Labeled custom fields appear in the Custom category alongside the personal and company fields. In the block editor, select a text block and insert Service area where it belongs. In the classic HTML editing path, you can insert the same field as a placeholder in the text editor.
Keep the custom line close to the information it explains. A service area can sit beneath a person's role, while support hours can sit beside the phone or email line. Avoid turning the signature into a profile page: one or two useful details usually communicate more than a list of every internal attribute.
The field is a placeholder in the saved design. When Signaturify prepares the signature for a selected user, it replaces that placeholder with the value stored for that user. The same design can therefore produce a different, relevant line for Sadie and for each colleague who receives it.
Hide optional details when they are empty
Not every employee needs every custom field. If a line should appear only when it has a value, apply a field-based visibility rule to the line or its containing group. For example, set the Support hours row to show when that field has a value. If the row has a separator beside it, use an auto-hiding separator so an empty field does not leave a stray divider behind.
Preview the design with a user who has the value and another who does not. In the block editor, turn on Preview data and select each employee. Check the populated line, blank state, and a long value before saving. The preview helps you inspect the result, but it does not fill missing source data or replace a received-email check.
Save the design, then deploy it
Saving the signature stores the reusable design. It does not update Gmail by itself. When the design is ready, an authorized user selects the signature, company profile, and audience, then runs Set Signature for the relevant sending addresses.
Review a small group first. Confirm that the custom line appears for users with a value, disappears cleanly for users without one, and sits in the same visual hierarchy as the rest of the signature. The deployment is queued for Gmail, and transaction history reports progress or individual failures.
Custom fields are most useful when they answer a real recipient question and have a clear owner inside the company. Give each one a stable meaning, keep values short, and let one maintained design carry the variation across your Workspace.
Want to see how custom fields could fit your signature system? Tell us about your Workspace.
Prefer to explore the editor yourself? Try Signaturify.